
This guide turns the quick start section of Fluval’s AquaClear 110 manual into one clear sequence: load the media, build the intake, mount and level the filter, fill the case and prime it.

Quick answer: Rinse and load the media, fit the intake tube and sponge, mount the filter on the back of the tank and level it. Fill the filter case completely with water, set the flow control lever to its minimum, plug in, wait 30 to 45 seconds for priming, then adjust the flow and fit the cover.
Safety first: Unplug the filter before you put your hands in the water or take parts off. Never run the filter without water.
This is based on the AC110 edition of Fluval’s AquaClear AC Series manual. Other models may differ, so check your own manual.
What is in the box
The manual lists these parts: filter cover, media basket, filter case, impeller assembly, seal ring, motor unit, levelling device, impeller cover, intake U-tube, intake U-tube adaptor, extension tube, intake stem, intake sponge, Bio-Foam, two carbon inserts and two BIOMAX inserts.
Setup, step by step
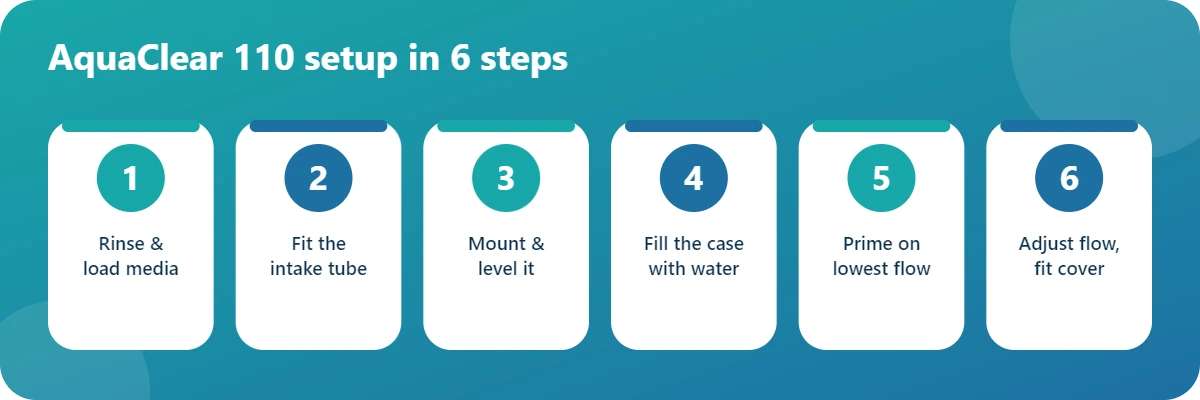
- Rinse the filter media before use. Our media guide has the order.
- Place the media basket into the filter case.
- Install the intake U-tube adaptor on the intake U-tube.
- Install the intake U-tube and apply gentle pressure until it clicks into position.
- Attach the intake sponge to the end of the intake stem.
- Add the extension tube to the intake stem if the depth of your aquarium requires it.
- Attach the intake assembly to the intake U-tube and apply gentle pressure until it slides into position.
- Attach the levelling device to the filter case by inserting its peg into place.
- Mount the filter onto the back of the aquarium.
- Rotate the levelling device until the filter is perfectly level.
- Fill the filter case completely with water.
- For the initial start-up, and for faster priming, set the water flow control lever on the intake U-tube to its minimum position.
- Plug the power cord into the outlet and allow 30 to 45 seconds for priming.
- When priming is complete, adjust the flow control to the output you want.
- Install the filter cover.
The manual says not to operate the filter without water. For best operation, it recommends regular cleaning of the filter and its parts every month, without soaps or detergents. See our maintenance schedule.
Spare part numbers listed in the manual
| Part | Item number |
|---|---|
| Filter cover | A16431 |
| Media basket | A16440 |
| Filter case | A16420 |
| Impeller assembly | A638 |
| Seal ring | A16417 |
| Motor unit | A16400 |
| Levelling device | A16325 |
| Impeller cover | A16415 |
| Intake U-tube | A16351 |
| Extension tube | A16353 |
| Intake stem | A16352 |
Check your own manual for the part numbers for your model.
Frequently asked questions
How long does an AquaClear 110 take to prime?
The manual says to allow 30 to 45 seconds after plugging in, with the flow control lever at its minimum position.
Why set the flow lever to minimum at first?
The manual says to do this for the initial start-up and for faster priming. Adjust the flow once priming is complete.
Do I need to rinse the media before use?
Yes. The quick start says to rinse the filter media before use. Rinse the Bio-Foam, carbon and BIOMAX thoroughly.
Do I need the extension tube?
Only if your aquarium’s depth requires it. The manual says to add the extension tube to the intake stem in that case.
Will it fit my tank?
The manual lists a maximum rim thickness and a minimum water level. See our guide on rim thickness and water level limits.
What this page doesn’t cover
This page covers filter equipment only. It doesn’t give fish-health, medication or water-chemistry advice, and it doesn’t describe electrical repair.
Sources and last verified
- Fluval, AquaClear AC Series instruction manual, AC110 edition (official PDF): fluvalaquatics.com
Last verified: November 19, 2026, against the English sections of the PDFs listed above.